Custom GitHub App
Before creating your container, you'll need to create a GitHub app for your organisation.
Creating a GitHub OAuth app
From GitHub, click on your profile picture and chose "Settings":

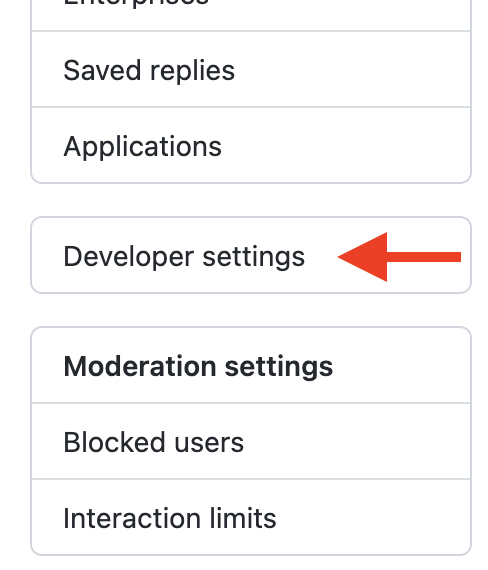
Then "Developer settings" from the left-hand menu:
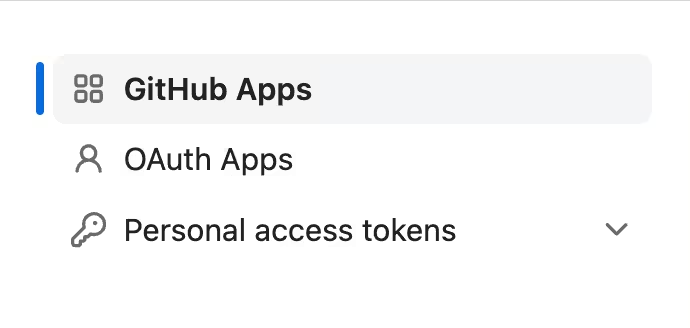
Then "GitHub Apps":
And create a new GitHub app:
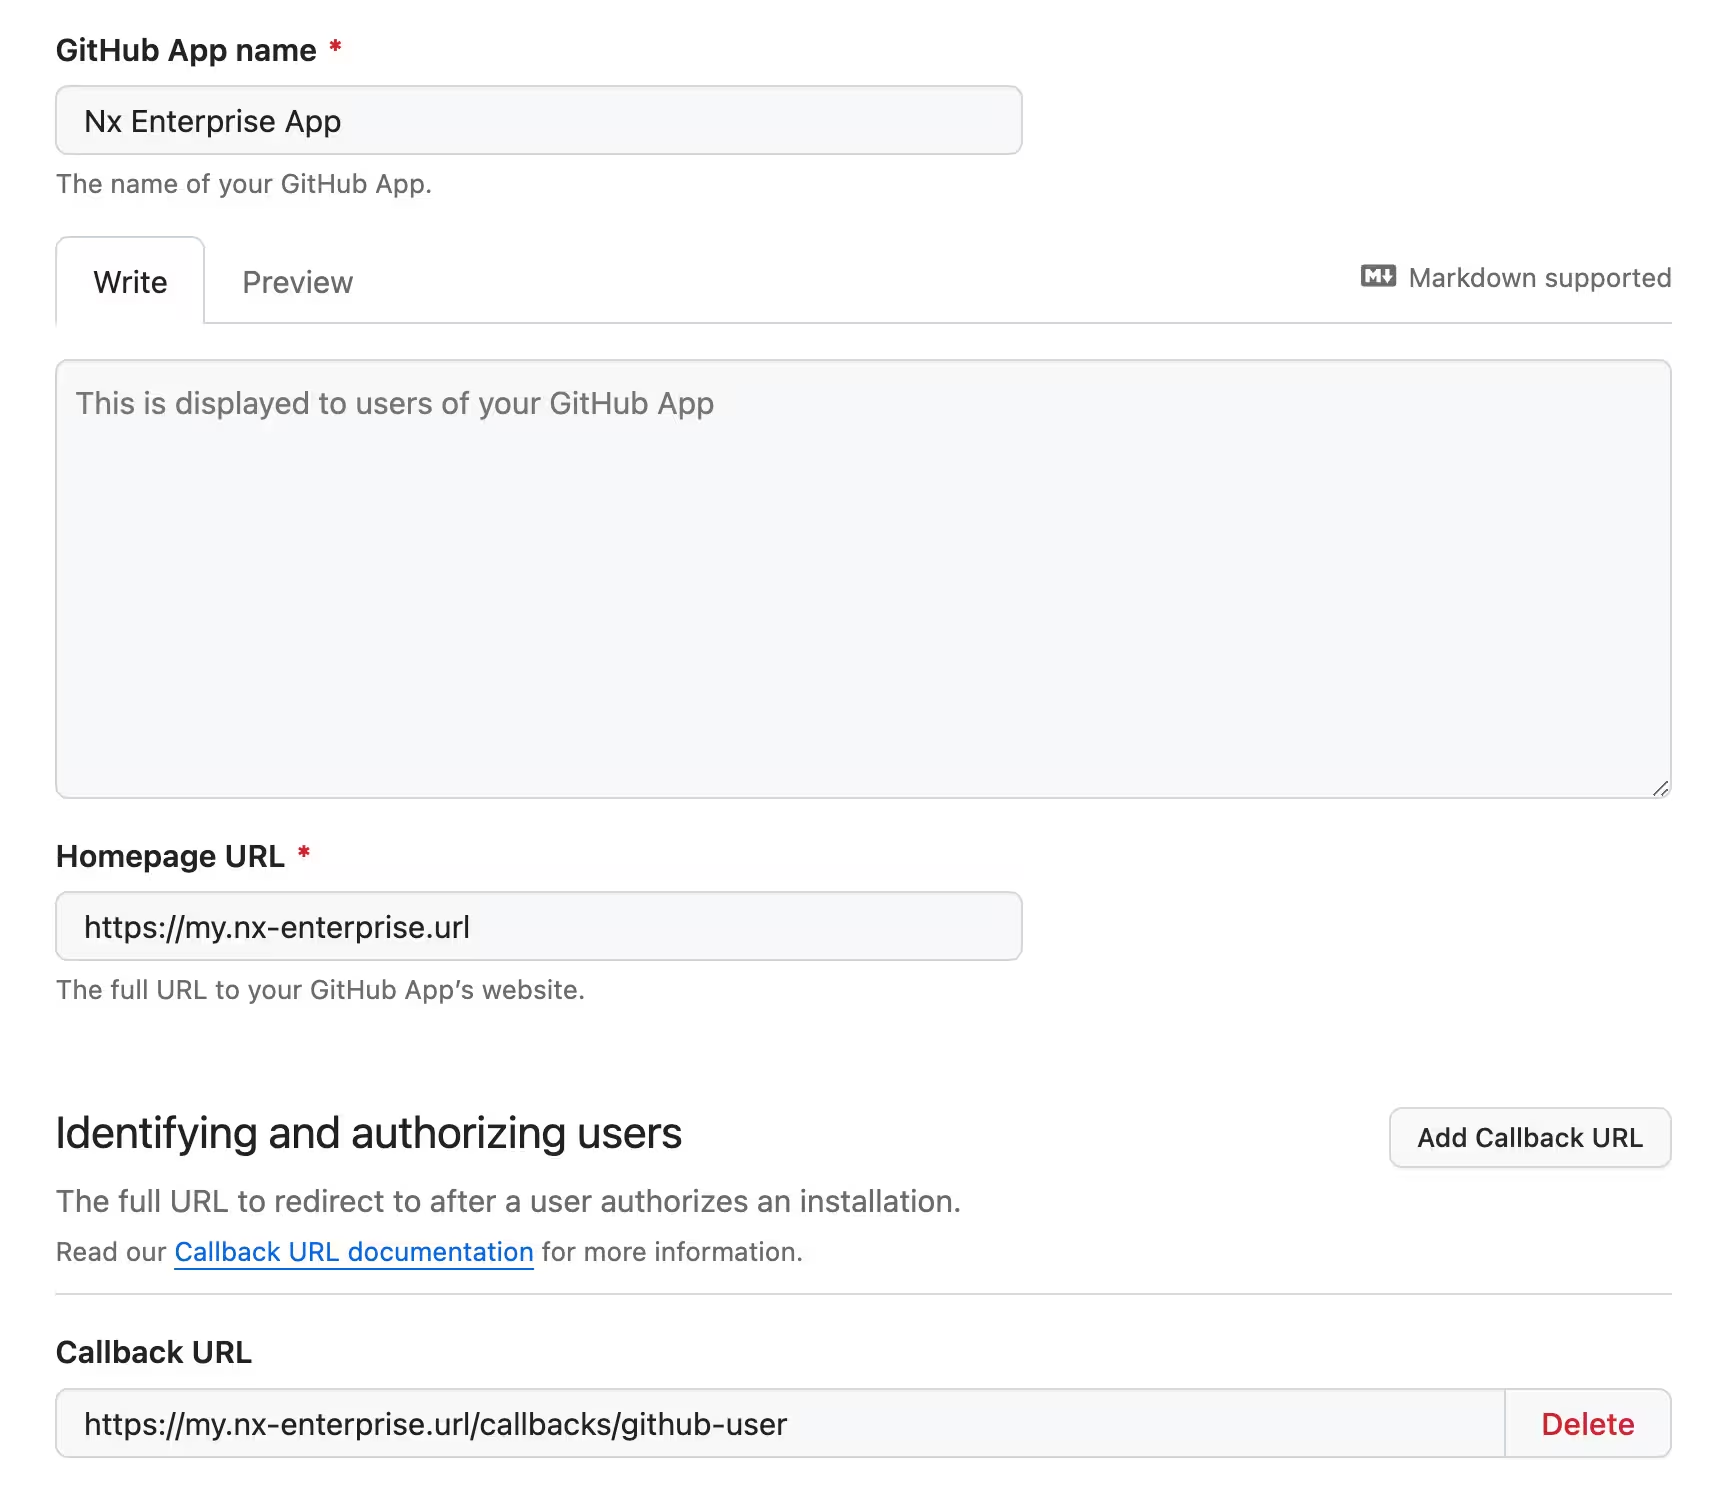
Give it a name, and a homepage URL. The callback URL is the important bit. It needs to be in this form:
1[your-nx-cloud-url]/callbacks/github-user
2
3# for example
4https://my.nx-enterprise.url:8080/callbacks/github-user
5
Configure a webhook and give it a secret: (the URL needs to match https://<your-NxCloud-instance-URL>/nx-cloud/github-webhook-handler)

Once you create the app, keep a note of the Client ID and App ID:

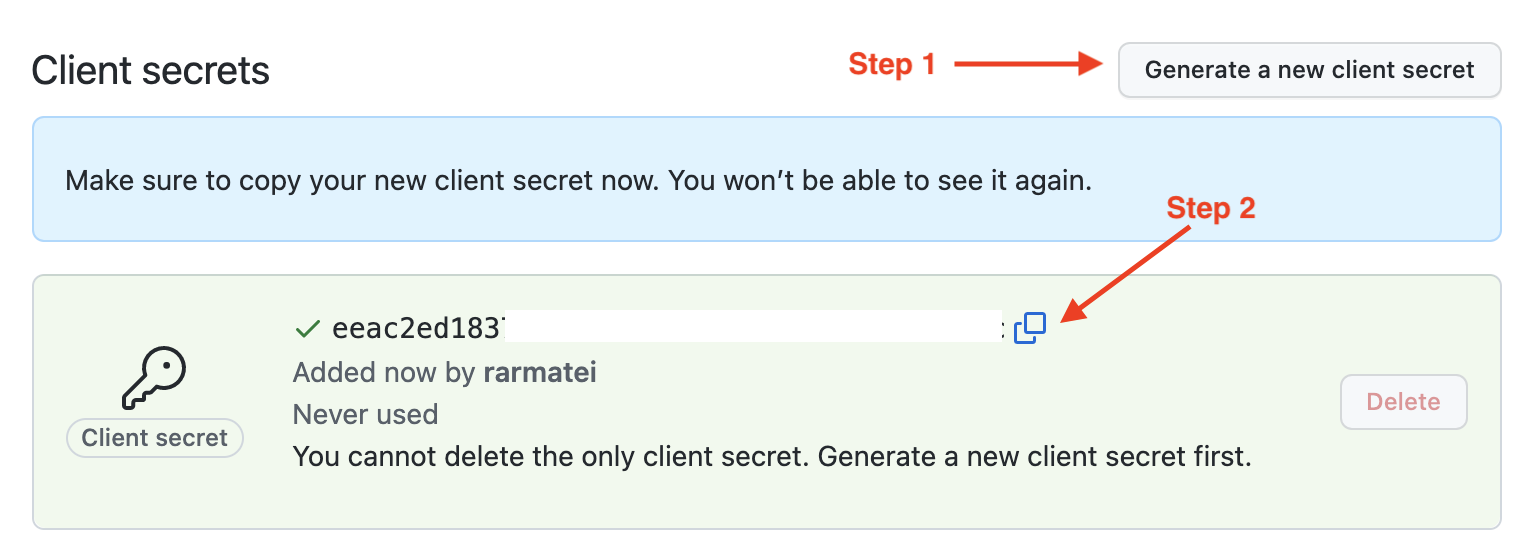
Then generate a new client secret, and save it somewhere secure (we'll use it in a bit):
Finally, scroll down and download a private key:
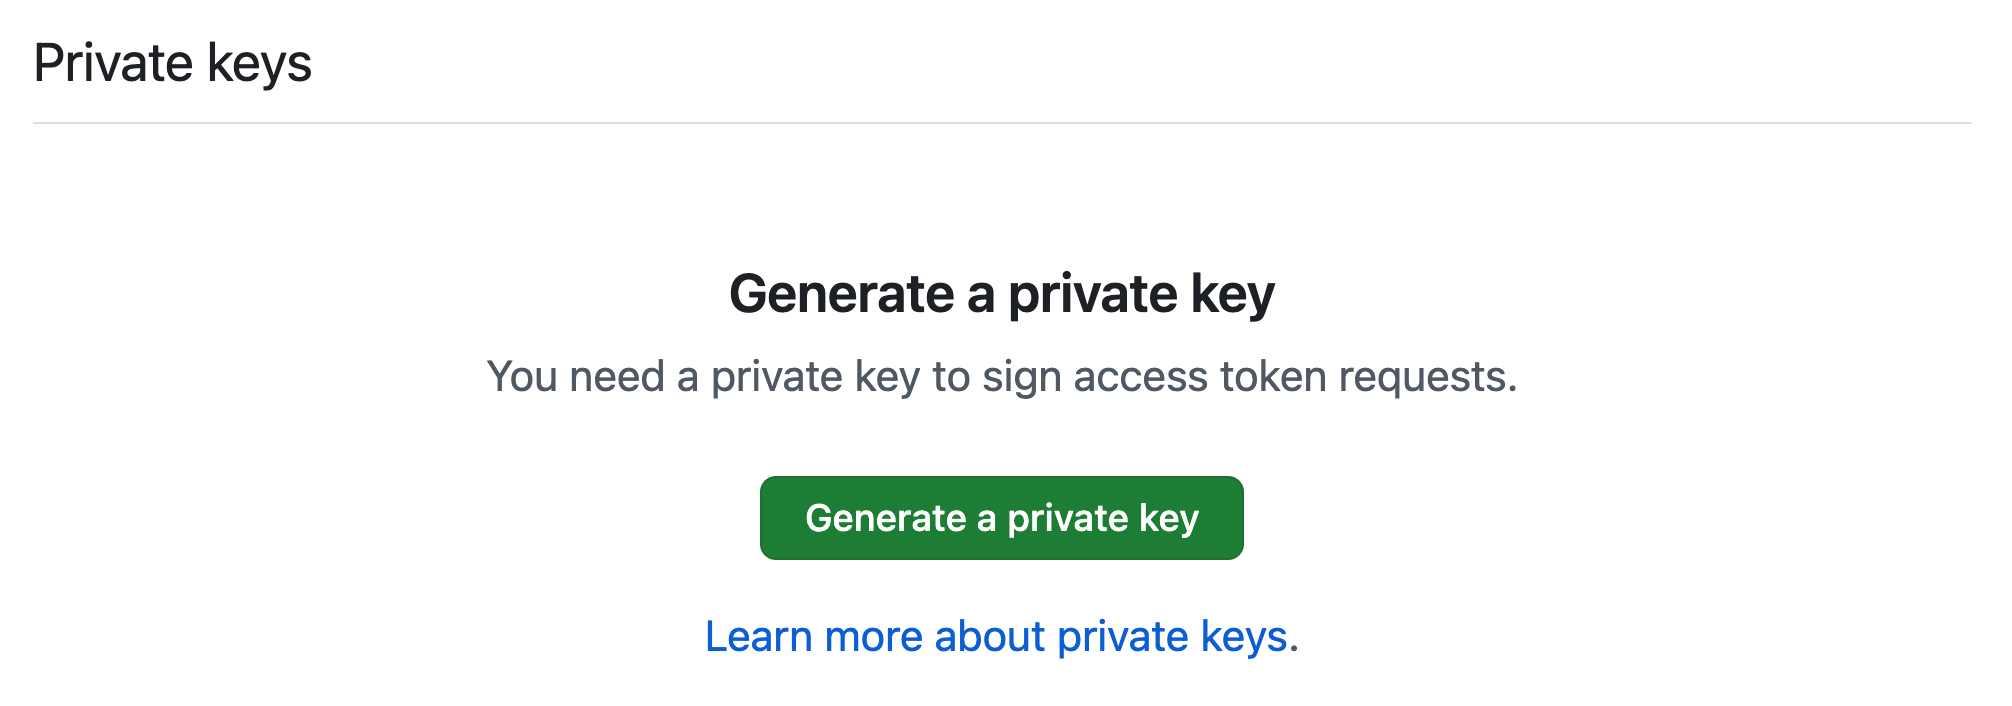
Then navigate to your download location locally and stringify the contents of the private key:
1awk 'NF {sub(/\r/, ""); printf "%s\\n",$0;}' your-key.pem # keep a note of the output
2
Save the output of the above, as we'll also use it in a bit.
Configure Permissions for the GitHub App
The following permissions are required for Nx Cloud to work:
Repository permissions:
Contents: Read & WritePull requests: Read & WriteChecks: Read OnlyCommit Statuses: Read & WriteIssues: Read & WriteMetadata: Read Only
Organization permissions:
Administration: Read OnlyMembers: Read Only
Connect Your Nx Cloud Installation
Provide the following values to your developer productivity engineer so they can help connect Nx Cloud to your custom GitHub app:
- Github App Client ID
- Github App Client Secret
- Github App App ID
- Github App Private Key
- GitHub App Webhook Secret